न मे द्वेषरागौ न मे लोभमोहौ
मदो नैव मे नैव मात्सर्यभावः ।
न धर्मो न चार्थो न कामो न मोक्षः
चिदानन्दरूपः शिवोऽहम् शिवोऽहम् ॥३॥
मदो नैव मे नैव मात्सर्यभावः ।
न धर्मो न चार्थो न कामो न मोक्षः
चिदानन्दरूपः शिवोऽहम् शिवोऽहम् ॥३॥
- Nirvana Shatakam vs.3, Sri Adi Shankaracharya
It's a little over a month, and a little over 6 more feet of snow later, and life is beginning to return to some semblance of normal. For a while, just getting to and from work and completing other daily tasks and sadhana was exhausting. But with the snow banks beginning to melt and the first glimpses of Spring around the corner, (we hope), there seems to be a little more time in a day. I love that it's 6:27 as I'm typing this paragraph, and the sun is just beginning to set; only a handful of weeks ago it was full dark at 4. But it's still too soon for me to have the focus I need for a serious or exploratory post, so back to the subject of Rudraksha. This is a compilation of information I have pieced together over the last year while researching everything I could find about them, combined with some of my experience in working with them.
There are 2 main varieties of the seeds of the Elaeocarpus genus of trees and shrubs used in malas and jewelry:
Nepali: Elaeocarpus Ganitrus.
These trees are quite tall and hardy, reaching a height of 100 or more feet with a buttressed surface root spread that can span 40 feet, when mature. They are known to grow from Hawaii and Australia all the way to some of the coldest regions of Nepal and the Himalayas. The trees themselves can grow in all soil types, can become incredibly drought tolerant and salt tolerant, are not reported to be particularly prone to any pathogens - in fact the leaves and fruits are known to have an antiseptic quality - and are rumored to be able to tolerate cold to about -20 C. The coldest actual scientifically recorded environment by Western sources is -7.2 C, but not much work has been done and those sources often confuse the species. People from the regions they grow report the trees in much colder environments and claim that with care in growing and acclimatizing, the Tree may tolerate much colder environments. The Tree begins to flower at about 8 years when a tree is grown from seed. This can be sped up to between 3 and 5 years if a cutting is used to clone the tree, instead.
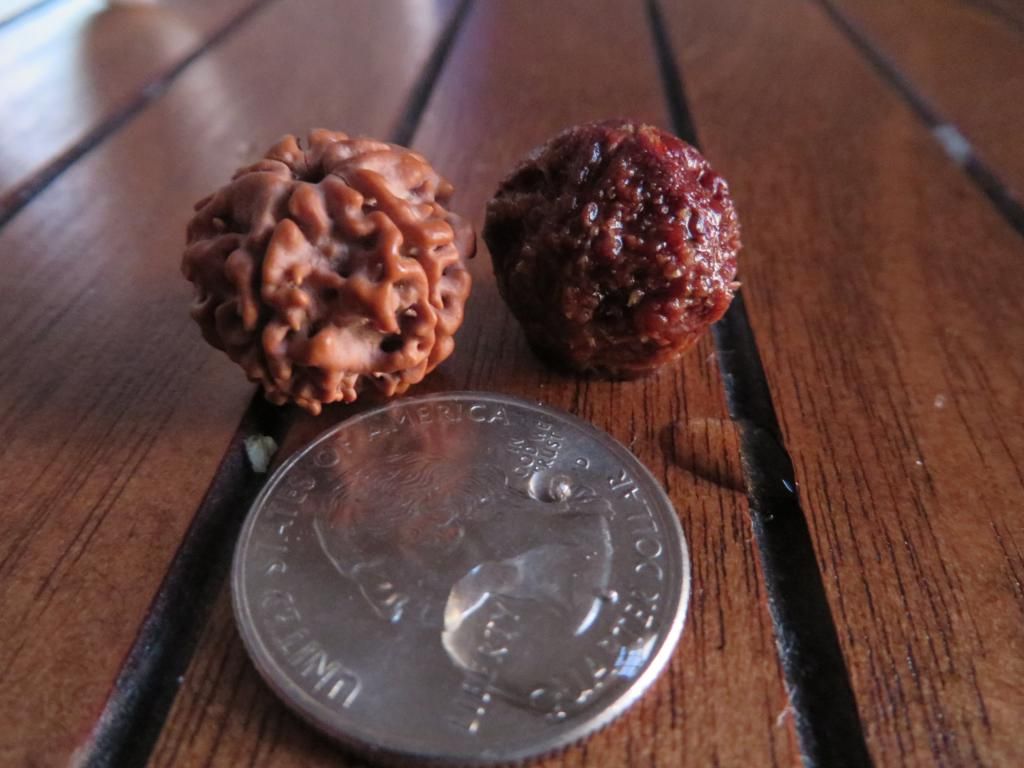
The seeds themselves can range from between 33 millimeters in diameter to 12 millimeters - it's possible they can be smaller and I just haven't seen them. The dried fruits that can be purchased from the seller I've encountered so far has seeds of 25 millimeters maximum, however the seller does sell larger seeds either singly or in jewelry, so it's my assumption that they save the larger fruits and the ones with odd shapes, as seeds above 25 millimeters are usually considered worth more and are more likely to contain uncommon Mukhi seeds or fused seeds.
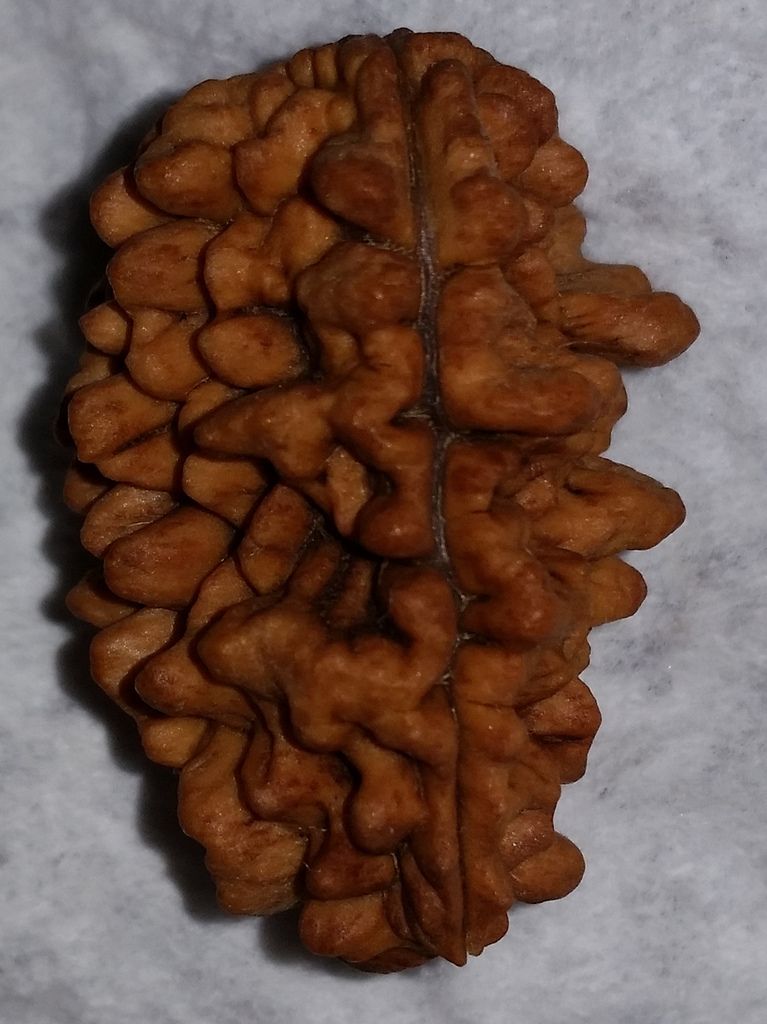
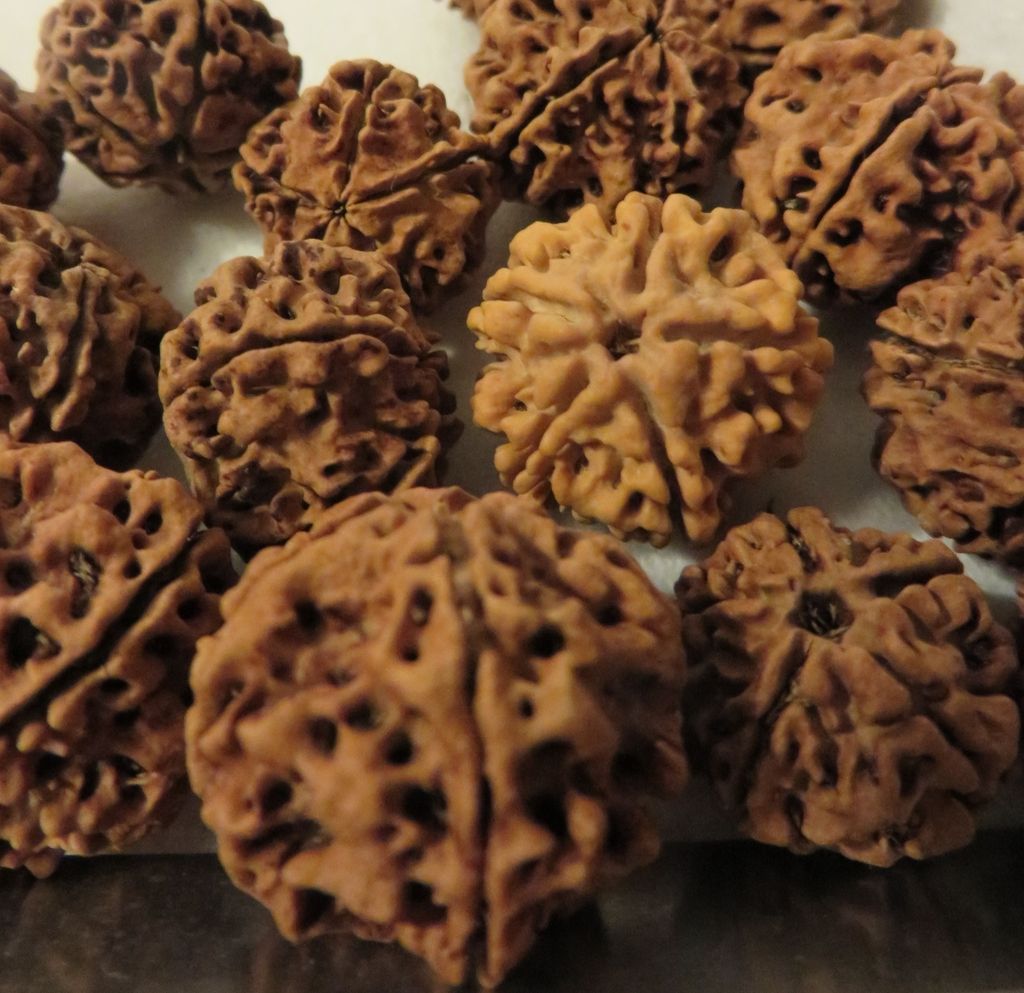
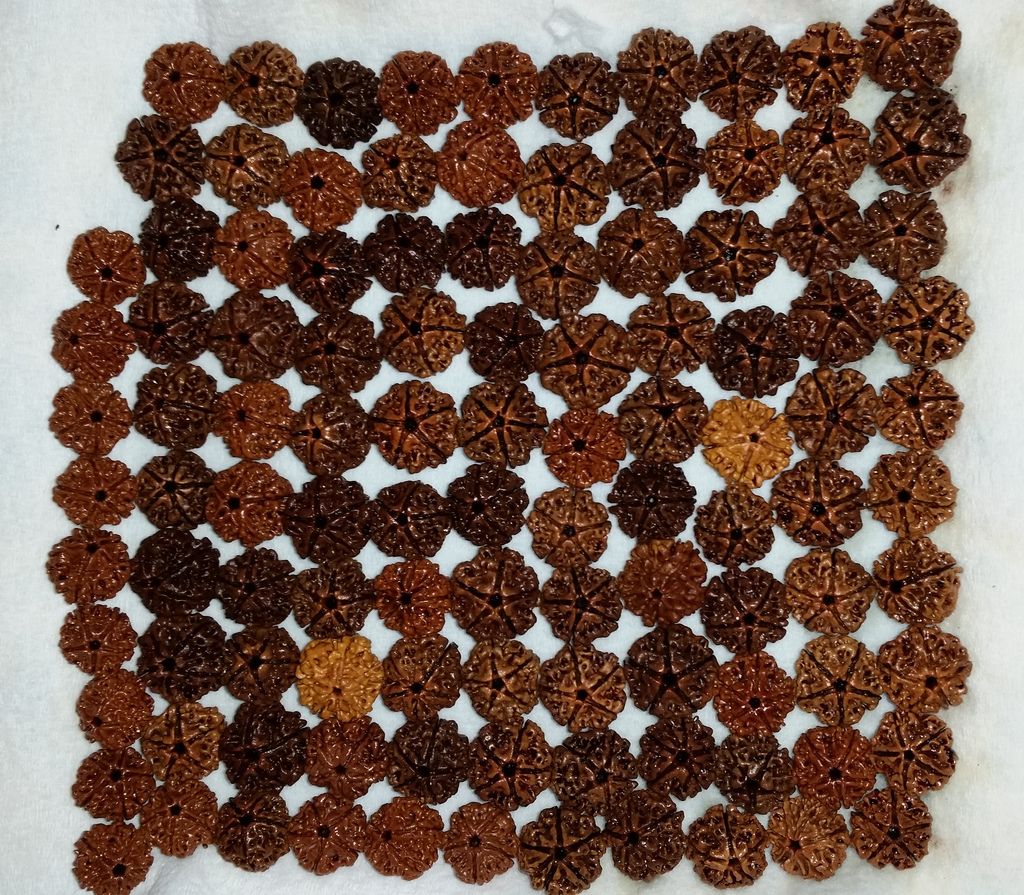
The Nepali seeds range from 2 faces to 21. The Ek Mukhi, (1 face), Nepali seed is a Legend. If it exists, it would be a perfect sphere with only one Mukhi line running from top to bottom. It's possible they may exist but are incredibly rare, and there are many stories about the few places they can be found, however as far as I have been able to tell no such seeds have been real when they have been presented for examination. The Ek Mukhi seed generally found on the market is from the Java variety.
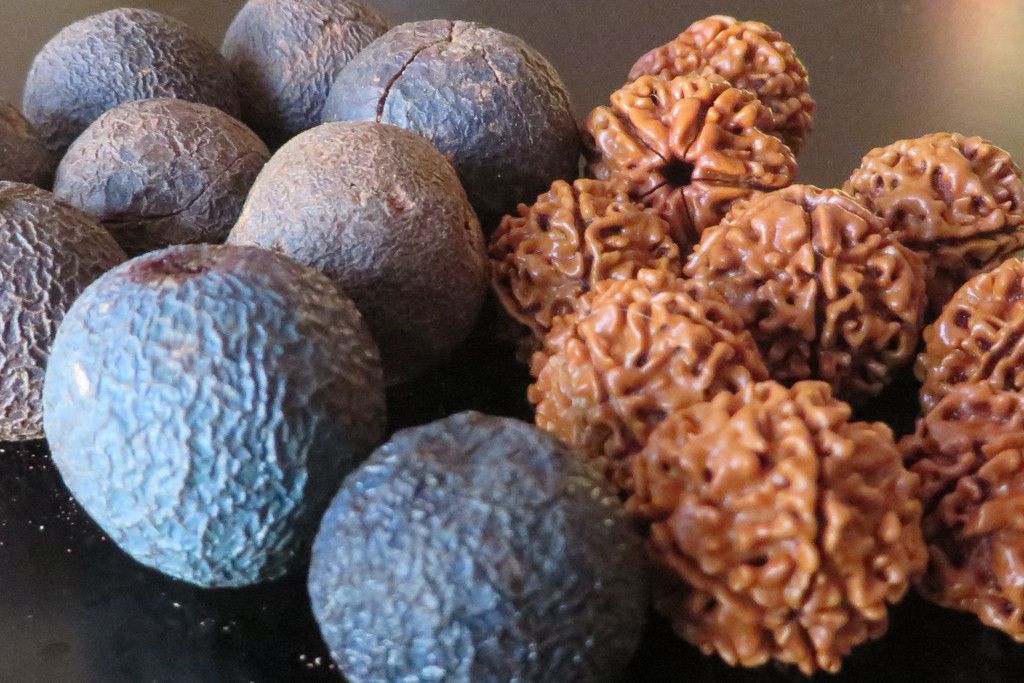
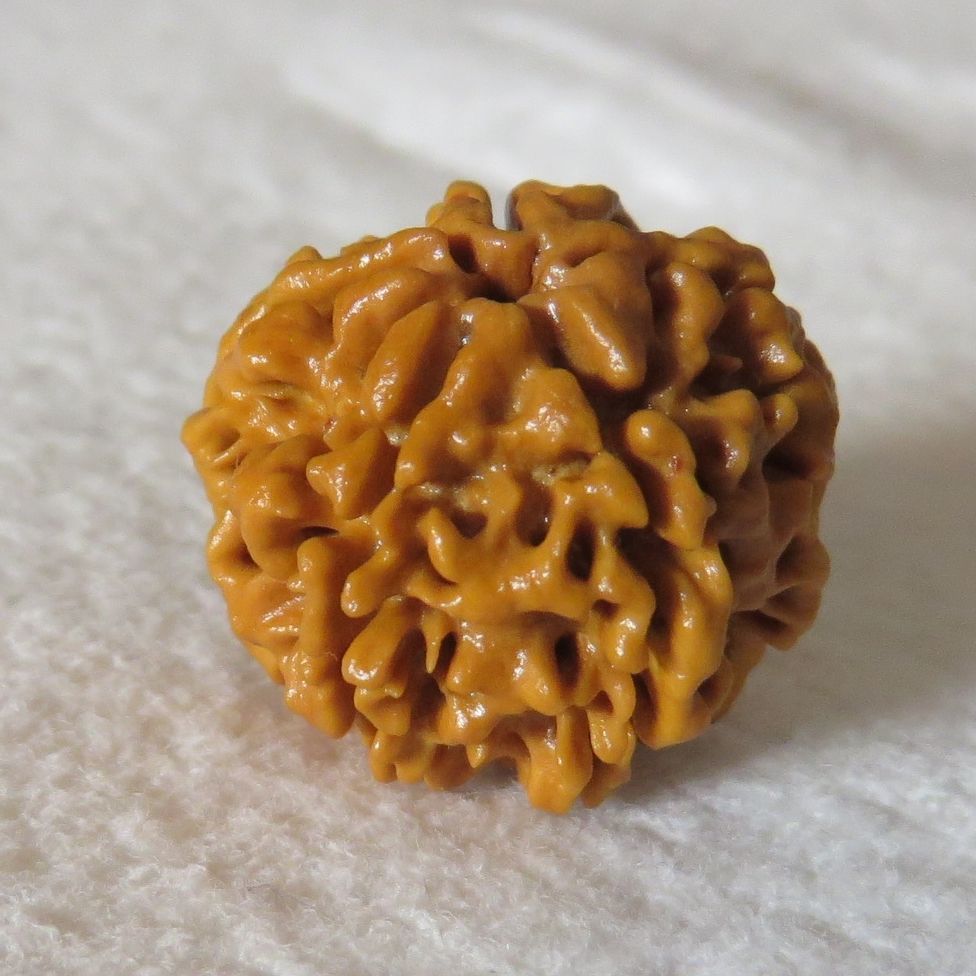
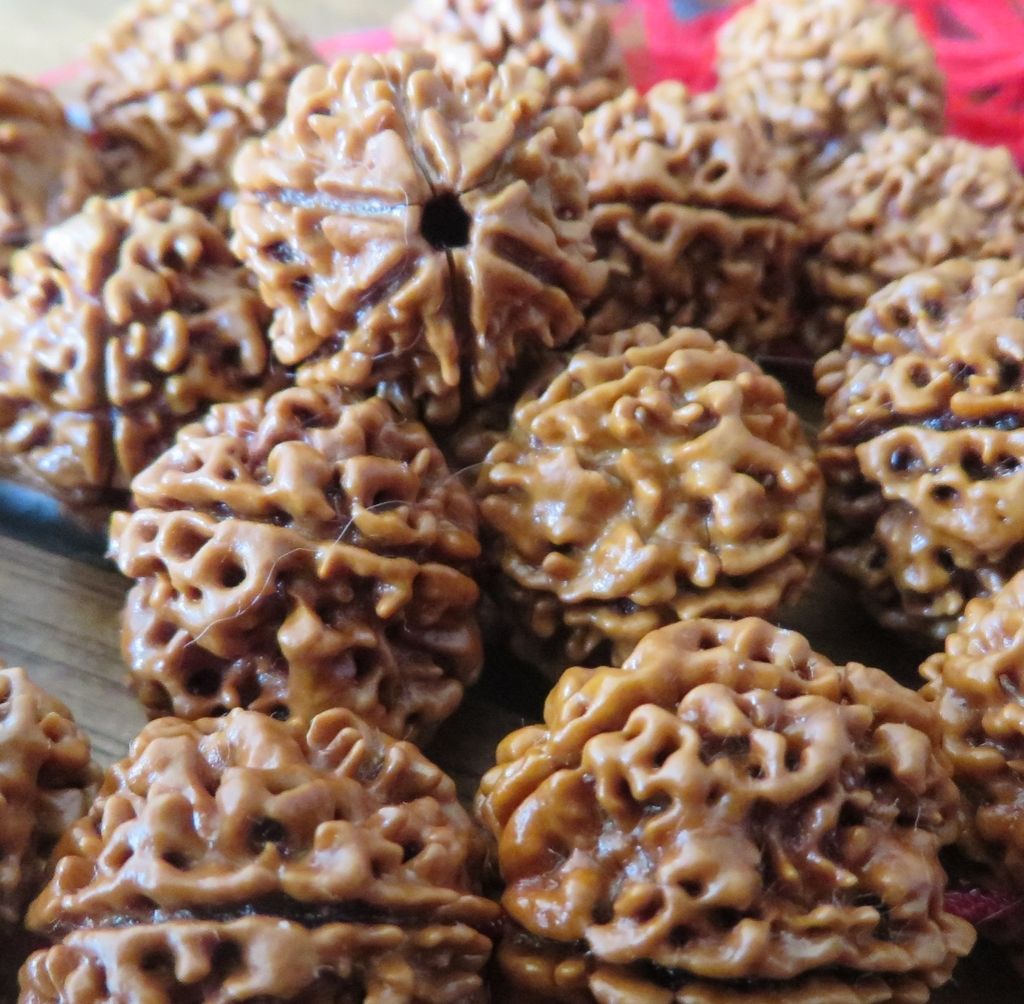
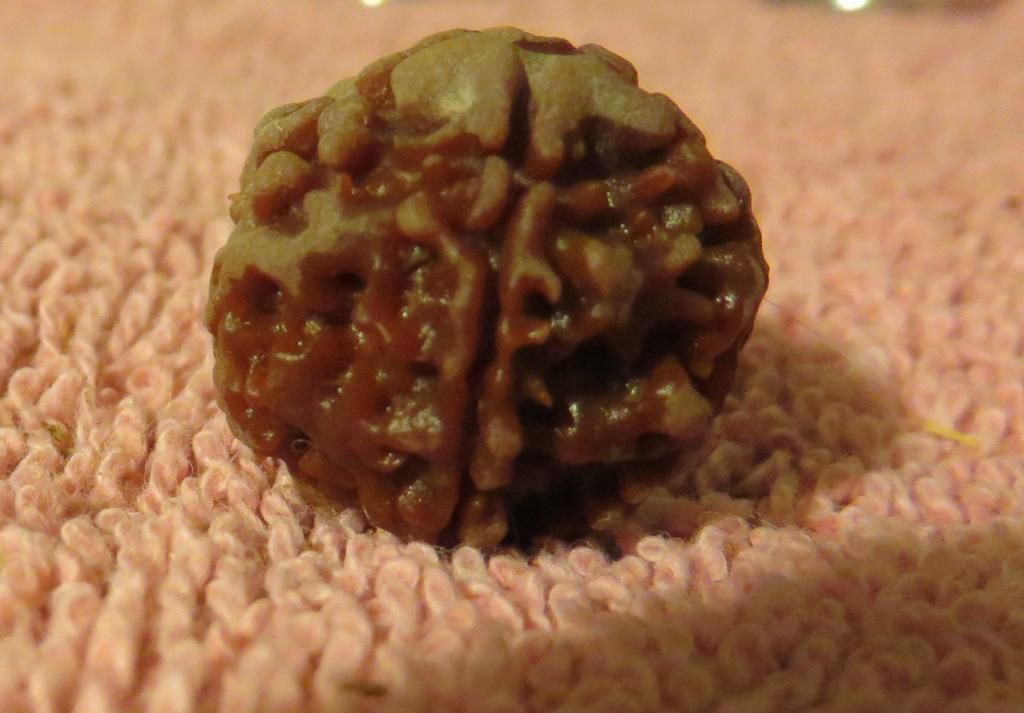
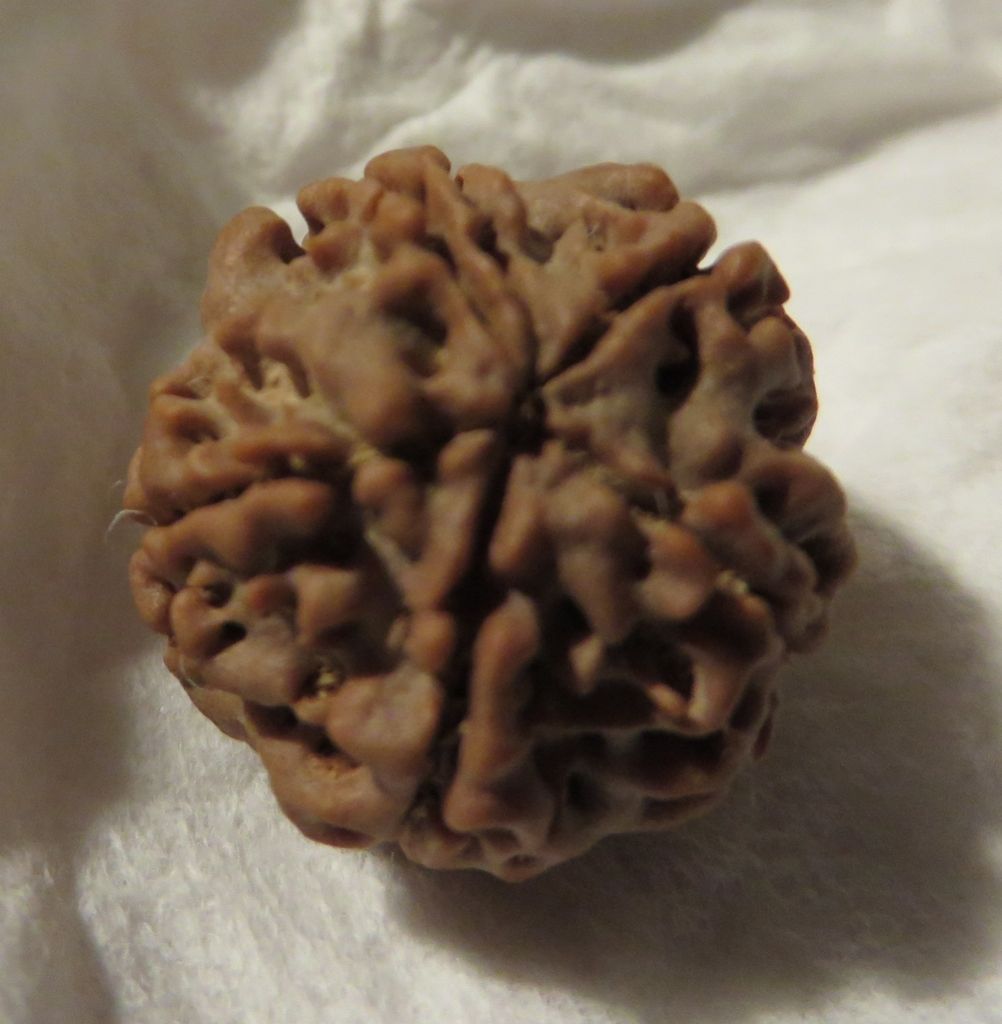
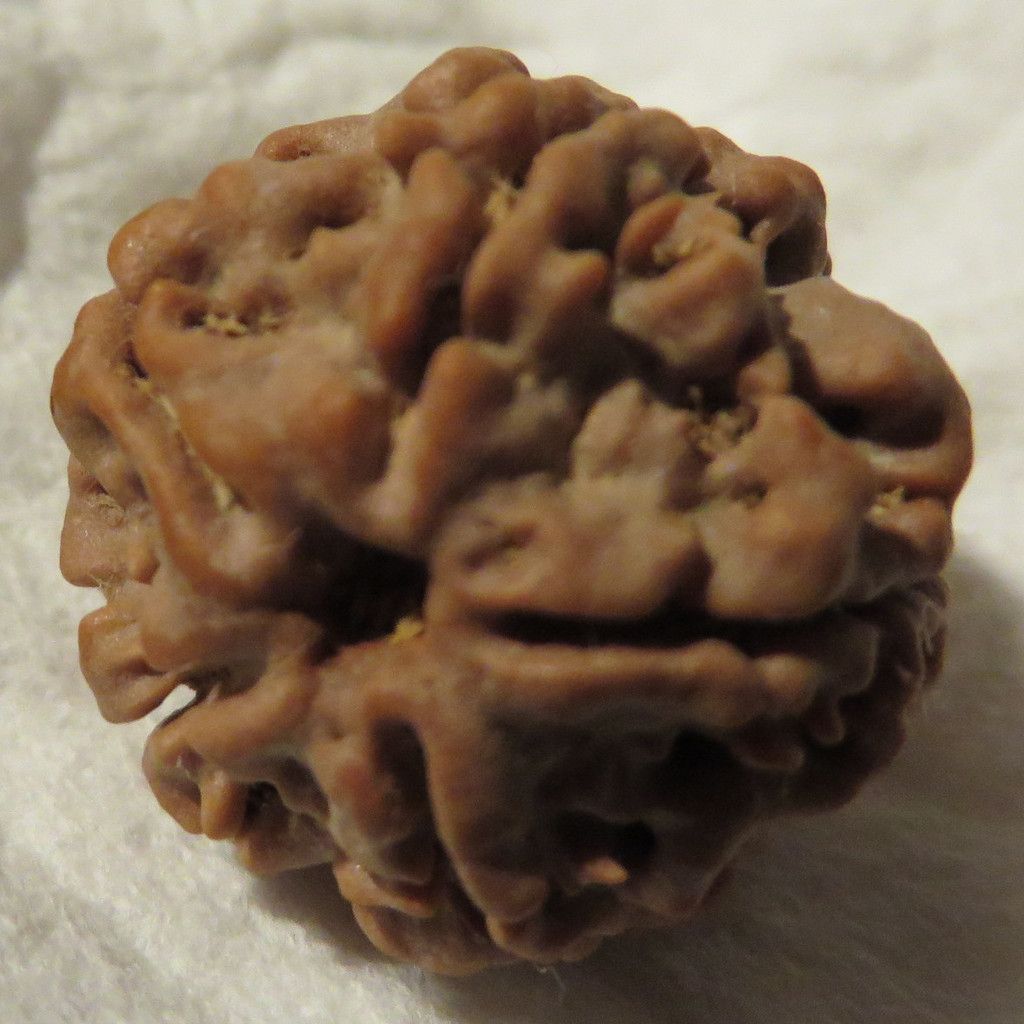
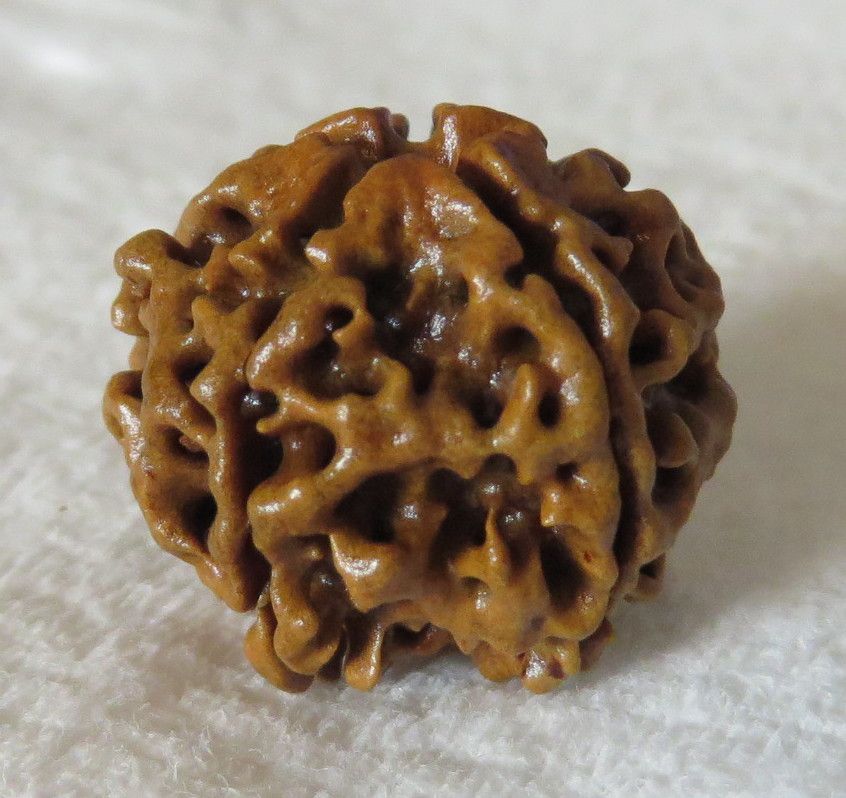
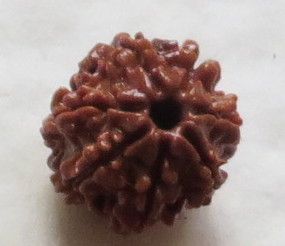
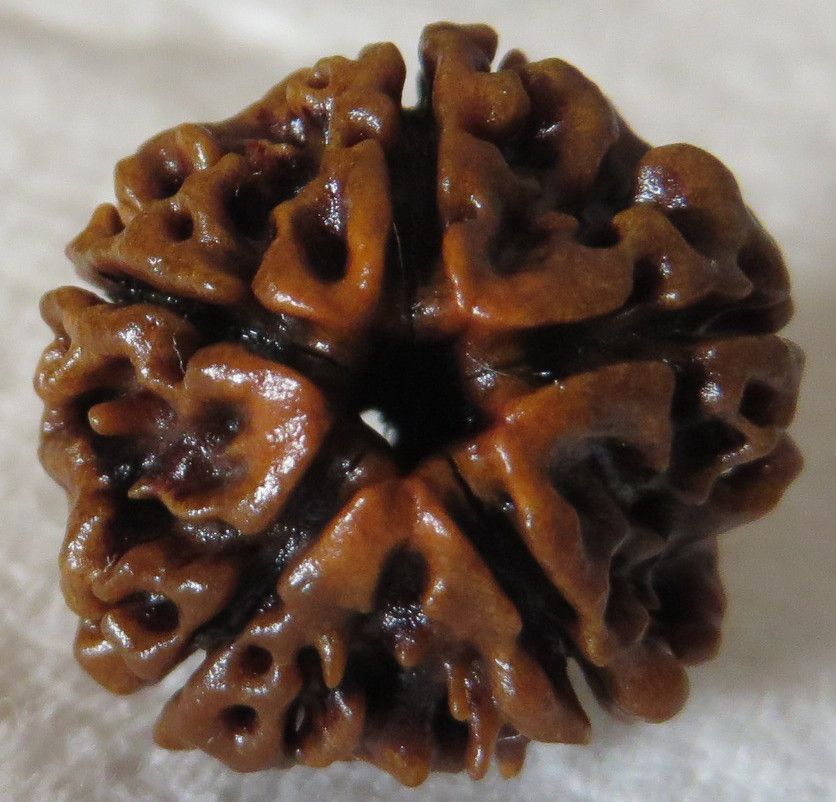
The seeds of the Nepali variety have deep channels along the lines of the Mukhi, about 1 millimeter or more deep. Sometimes these are overgrown with whorls and thorns, but they are always there underneath, forming tunnels. The thorns and whorls themselves are also high from the main surface of the seed chamber, creating deep patterns and ridges in the seeds. They are as unique as fingerprints to each seed. All Nepali seeds have a natural hole for stringing, usually full of fiber from the stem. The pictures in this post are all Nepali seeds except for the Ek Mukhi and the example of the 5 Mukh, Java, below.
Java / Indonesian: Elaeocarpus Roxb.
This name may actually cover several closely related sub-species of trees and large shrubs known to grow from the Himalayan foothills of India to Indonesia, judging by the wide range in sizes attributed to it. But perhaps it is only one. They are a sub-tropical to tropical tree, not able to be grown in colder climates. Anecdotally, the larger trees are only slightly smaller in stature and leaf than the Nepal tree. The only ways to tell the difference between the two are in the form of the seeds and in the color the leaves turns before they fall between December and March. Apparently the leaves of Nepali trees will turn mostly Red and the leaves of Java trees turn mostly Orange to Yellow.
The seeds generally have shallower and more rounded ridges instead of deep thorns and whorl patterns. Smaller seeds have no channel delineating the seams of the faces, while the larger beads sometimes do have channels that run along the lines from top to the midline of the seed, receding as they approach the base. The sizes run similar to Nepali seeds on the large end all the way down to 3 millimeters at the smallest.
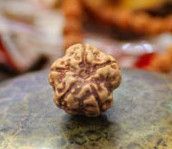
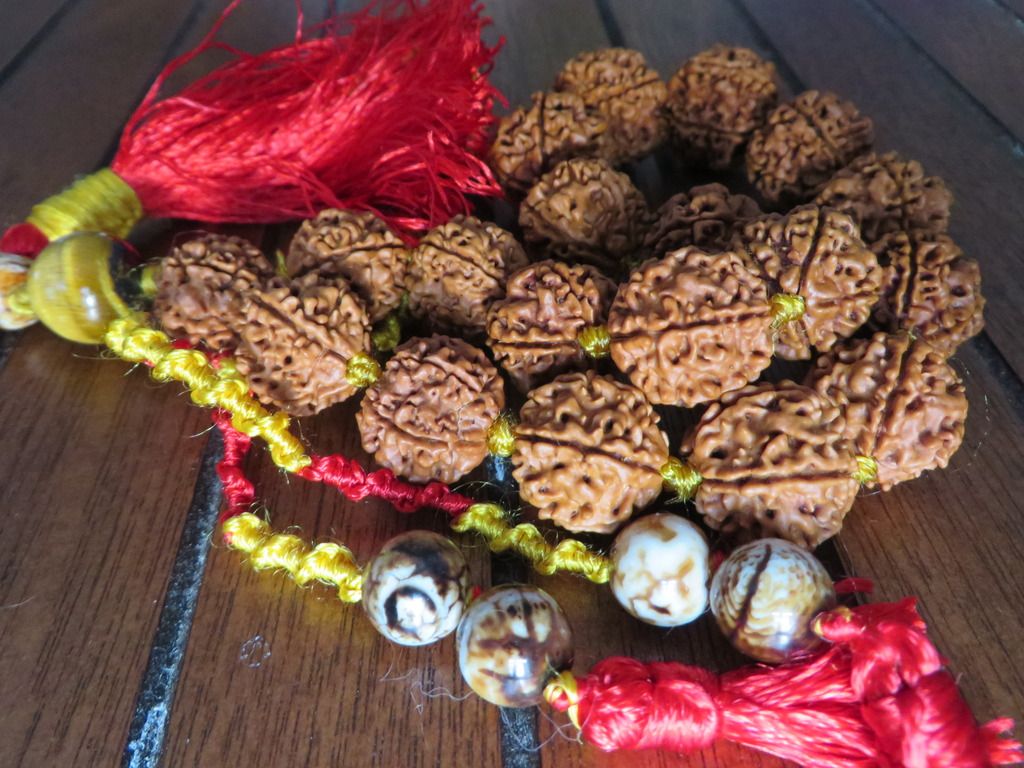
This is the source of the Ek Mukhi beads which come in the shape of a half-moon to a curved cashew, (pictured above). While larger beads produce the same variety of faces as the Nepali trees, the smaller ones tend to be mostly 4, 5 and 6 faces. Larger seeds have usually developed a natural hole, but the smaller ones must be drilled. These are the beads used most commonly in commercial japa malas for both Hindus and Buddhists, and in "spiritual" jewelry found in western stores, particularly when they are constructed with very small beads. Aside from these things, there is no real difference between the varieties
Cleaning:
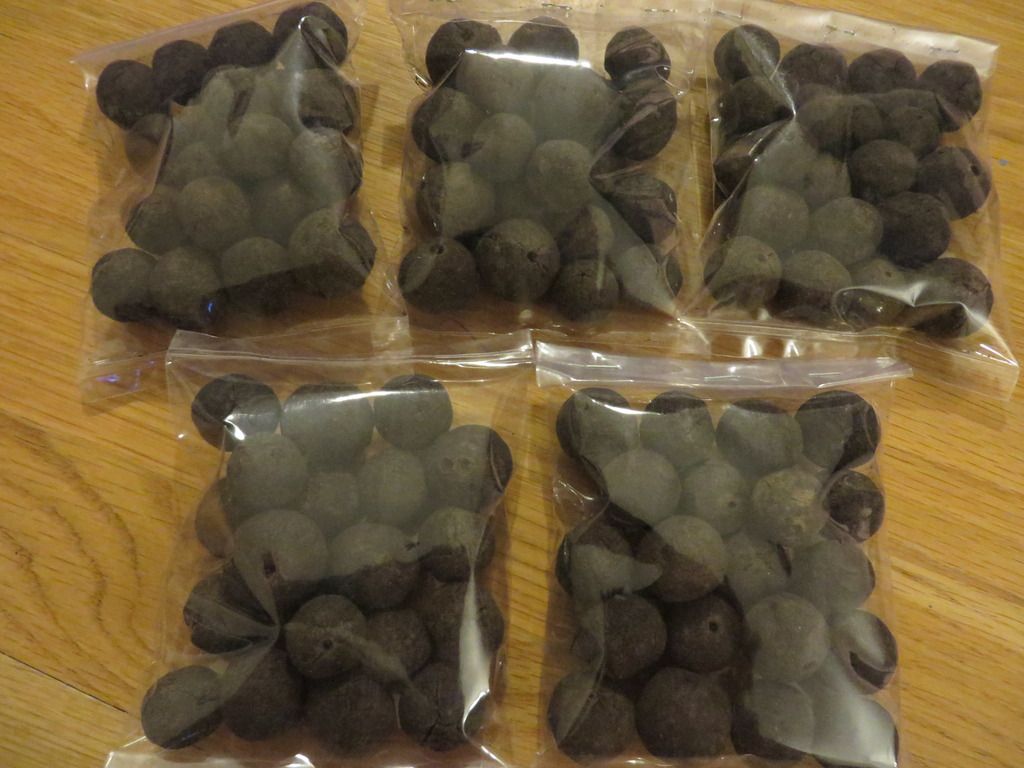
I've only been able to verify one vendor, from India, who sells the dried fruits of the Nepal variety, as I described above. If anyone knows of others, anywhere in the world, please do let me know. The fruits I've been buying so far seem to be grown, harvested and dried in regional orchards. In other words, Villages. They are not dried in a quick and controlled environment. Myself, I kind of like that. It's a bit more personal and traditional. But, it means there are occasionally hitch-hikers.
Now this doesn't bother me at all. Not that people didn't try, but I just didn't get any of the culture and gender bias to fear or dislike certain animals; I abhor and fear nothing. I love and respect all of creation, to me all has always been a part of the Divine, not different than Bhagavan Sri Shiva. But I understand that I'm uncommon in this. Keeping this in mind, and with the further information that I've done some amateur work in entomology, (it's a hobby), first I'd like to address one rumor about the tiny beetles one occasionally finds in the dried fruits. The species of beetle one sometimes finds eats only the flesh of the fruit, which when dried is a bit too tough and fibrous for most animals to eat. They have relatives that are found all over the world and in most
environments, however they all tend to be adapted to their home environments. A Tropical species may not be very adaptable to a temperate climate such as one that gets snow for half the year.
Regardless, the possibility of tiny beetles may be more than you are willing to deal with, particularly if they start flying around your house. But if you really want to do this and work with these unique and special natural jewels, and you don't have any source that grows near you, then you have two choices.
1) Put the fruits outside, in a safe place a small distance from your home, and let the beetles hatch and go about their lives.
2) Put the fruits in a container (not a bag, so there's air), and put them first in the refrigerator for a day, then in the freezer for at least a week. Just like most animals, most insects become lethargic and then sleep in cold temperatures. This effect is actually a bit exaggerated in some arthropods, allowing a hibernation state in cold temperatures above freezing.
Actually, there is a third choice for many people, and that is to get a few seeds, perhaps in fruits like these, and attempt to grow your own trees. The tolerances of the Nepali species alone are to at least Horticultural zone 8 and possibly higher, and it's very hardy. It's a choice I think is worth it simply for the tree alone, and I have plans to try.
So now you have dried Rudrakshas ready to be cleaned.
You will need the following tools:
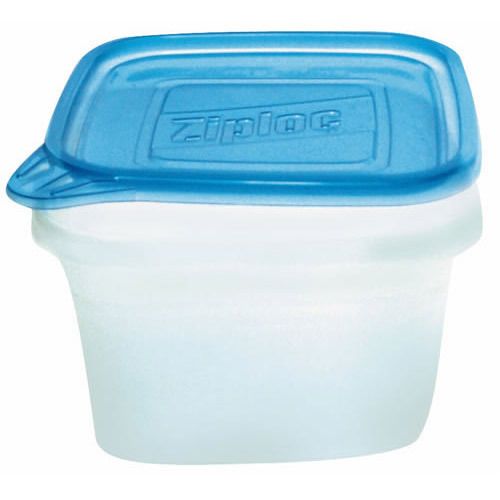
Small, covered containers:
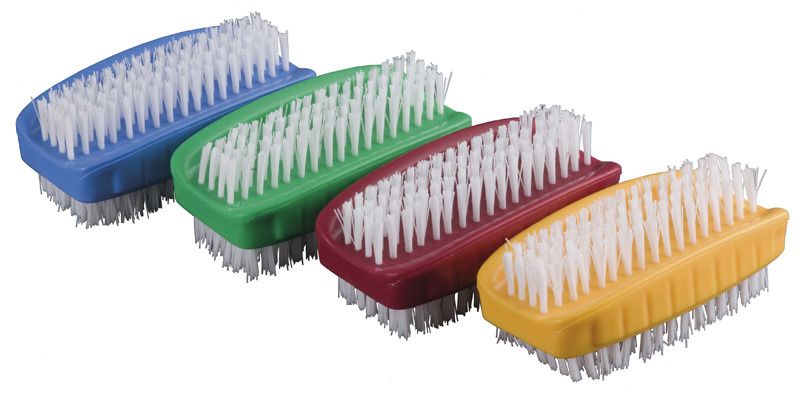
A brush with firm but soft bristles - I've found nail and cuticle manicure brushes work the best, both due to bristles and ergonomic shape for handling the tool. Something like this:
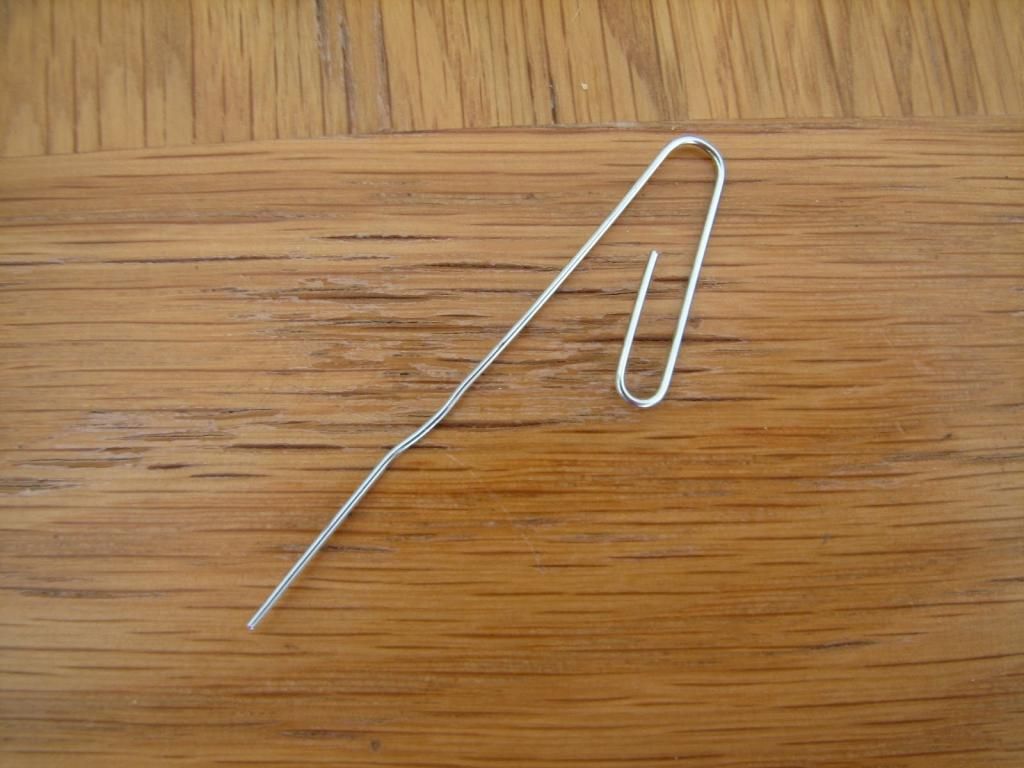
An unbent Paperclip
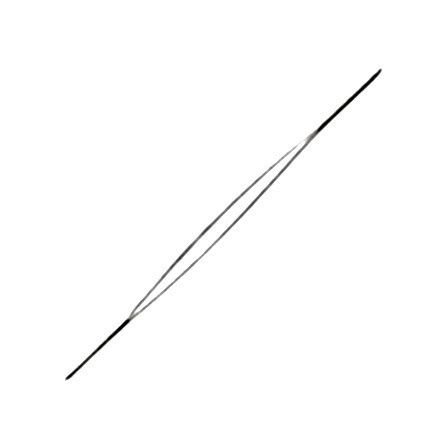
A Big-Eye Needle - this is a beading specialty needle
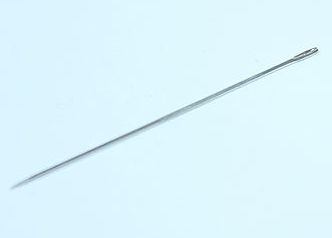
A fine-tipped Sewing Needle - as fine a tip as you can find.
Let's Get Started:
Step 1: Soak.
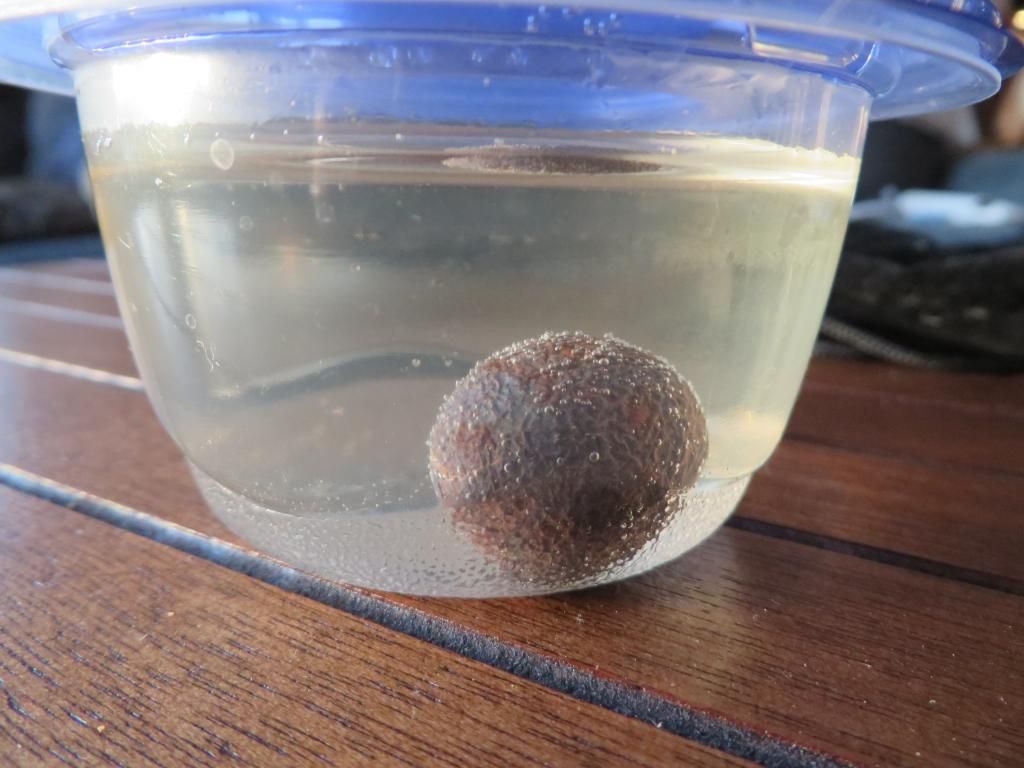 Upon removing the fruit you want to clean from the container in the freezer, place it in a container of cold water and let soak for at least a week. You may want to change the water regularly - doesn't matter if you do or not, but it's for the best if you do. Especially if you soak for more than a week
 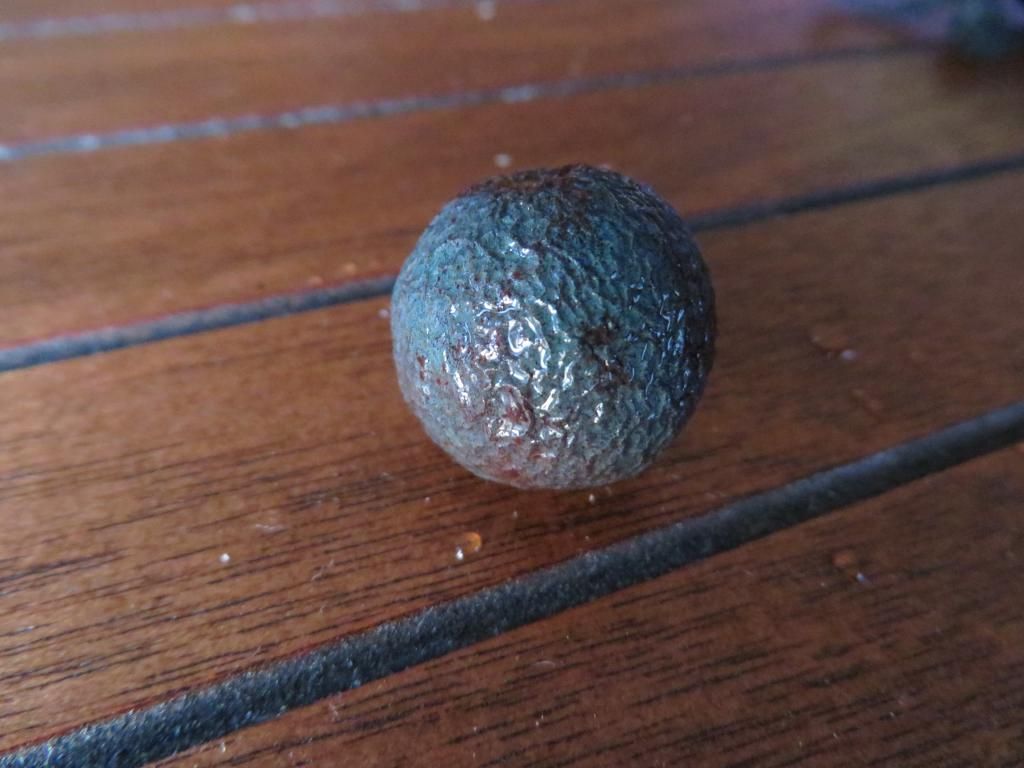 You may find that after soaking the fruit picks up some or all of its bluish tint again - often it will lose that once dried. This is because the color is not due to a pigment, but is a unique and unusual consequence of the surface of the fruit's skin. The shape of the molecules of the skin of the ripe fruit acts as a kind of prism, which makes the fruit appear blue. Rehydrating the fruit can bring back the shape and thus the color.
Step 2: Peel.
I usually do this and the next step in water, such as a large bowl or tub of water. The peeled Rudraksha on the right is the same one in the images above.
Step 3: Scrub.
I have no pictures of this. But take the brush and begin to scrub and rinse the remaining flesh from the seed. I generally do this half submerged in a bowl or tub, rinsing and checking regularly to make sure I get as much of the fruit cleaned out of the deep whorls as possible.
Step 4: Dry
This is something pretty unique about Rudraksha, and something that surprised me. The soaked seed will start out a red to brown color - only the 'white' ones seem to start out a paler shade to begin with than the others.
As the seed begins to dry it turns a powdery white, sometimes seeming almost translucent in places. It almost seems to be doused in Bhasma.
The seed should sit in the full sun and dry for at least a good two to three weeks. If you can't put it in full sun, I would recommend doubling the time, or more. As the seed dries all the way through, the color comes back and begins to settle to something close to it's final color. But it will take a good couple of months to reach its full richness.
You can see in the above images that the mouth of the bead - the wide hole at the top - is natural. When you turn it over, you will find the same with the base, although it is much more narrow.
It is usually exactly the right size to fit that paperclip. The space in the center is not hollow, but filled with a fiber just a little tougher than the flesh of the fruit itself. This was the nourishing umbilical to the tree which later became the stem when the fruit matured. You should be able to just gently push that material out, starting from the bottom, using the paperclip, though it may take a few tries to get it all. However, it is important to do this after the seed, and the fibers in the center, have dried completely. It will be much easier to remove the fibres when they're dried and shrunk down again, and you are far less likely to damage the seed as well.
Step 5: Fine cleaning.
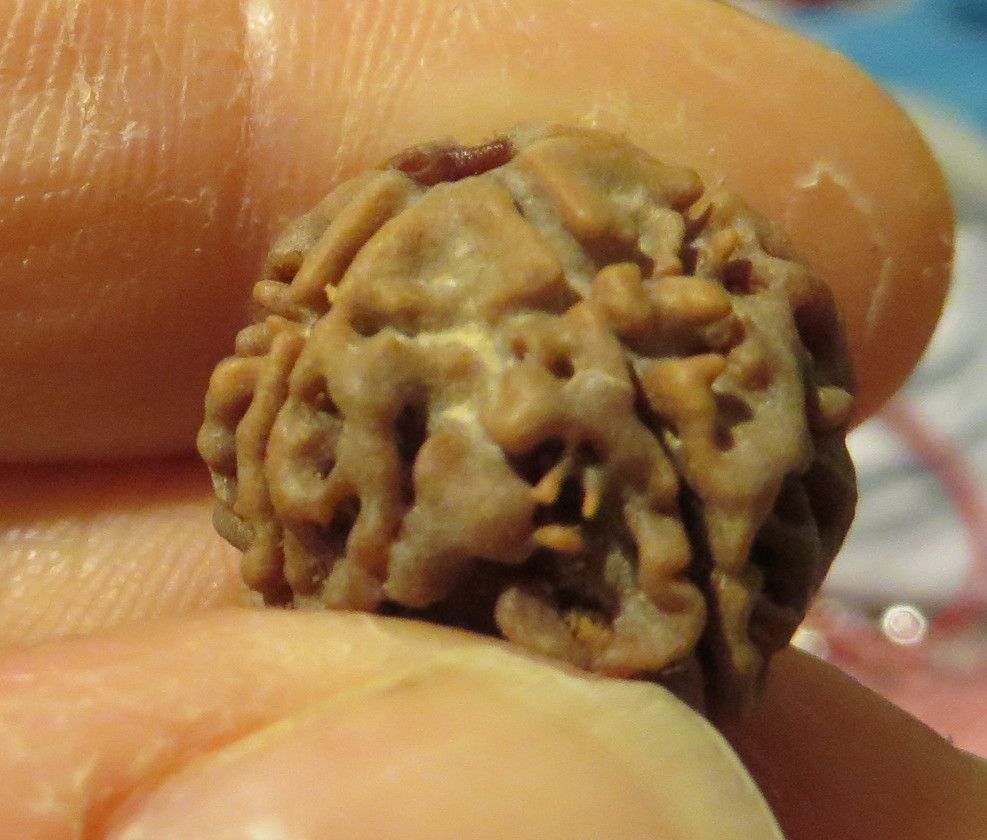
It's difficult to get a good picture of, but once your seed is dry you will notice that there are still bits of fruit fiber deep in the whorls and channels of the seed, not to mention in the center hole, as mentioned above. The images to the left here and below aren't macro, but are close. You can open them and should be able to see what I mean at full size, or even zoom a little.
Many sellers don't seem to clean these last fibers out. I don't know if this is for a reason - such as they help capture and hold oils applied to the seed - or if it's simply a matter of time and volume constraints for the people who do the cleaning. I suspect the latter, because it definitely is delicate and somewhat time-consuming work and because I haven't noticed any difference in oil permeation of the seed when the fibers are kept. What I have definitely noticed is that the seeds do seem to look dirty faster when the fibers are kept, so I always clean them out after the seed has had plenty of time to dry. Don't do this before it dries completely, the wood of the seed is softer when wet or damp and you can damage it far more easily.
This is where your two needles and the paperclip come in. I use the bent paperclip first, inserting the end into the smaller hole at the base and carefully pushing it through to the mouth. You will need to do this several times to remove all of the stem material, and sometimes you may need to repeat from the reverse end too, just to be certain. When you're done, you should be able to feel the hard walls inside the seed with the end of the clip, and if you hold the mouth at eye level, you should be able to see clearly all the way through
Next I use the Big-Eye Needle to clean out the Mukhi channels. Big-Eye needles are a beading specialty needle, available at any craft or bead store in the US. Beadalon is probably the most common brand, and they come in packs of 5. The reason this needle is best is that it's flat along the entire length, rather than round. It fits perfectly in the tight channels of the Mukhi lines, particularly if any part of them are over grown, so no damage is done to the bead or any of the thorns growing near the channel. You don't need to use this needle as your tool, I use them because I happened to have them on hand and they worked perfectly. If you can't find any near you, just find something long, flat, and thin which is both flexible and has some strength to it when you put pressure, and that will likely do just as well.
The fine tipped needle is for cleaning out the ridges and channels in the faces of the beads. I find this part the most relaxing and kind of meditative. Exploring the surface of the bead and the patterns unique to the one I'm working on is very relaxing and focusing. This is a slow and delicate process. Many of the structures of the surface of the bead are delicate and don't take a lot of pressure to snap if sideways pressure is applied to them. Take care, and if you find a difficult place to clean, look for another direction to come at it. Most of the deeper channels have connecting holes and tunnels that will allow you to do exactly that rather than break a small structure near another opening. You will break a few of them from time to time, it's inevitable, don't worry too much if you do. I've had one or two very thin thorns break just in the process of scrubbing the fruit from the seed, it's just part of the process sometimes. Go slowly and over time you'll get the hang of it and develop a pace that you're comfortable with.
Curing:
Now you have at least one completely clean bead, ready to be strung, right?Well, not exactly. You certainly could simply string and wear them as is, but they are very dry, which makes the wood of the bead more fragile and permeable to all kind of dirt, water and other nasty things that could damage the seed. Like any other plant based material, you need to protect it from the elements and the stressors it will come in contact with when being worn. You will need to give it a natural oil barrier, which will give it strength and a kind of glowing, varnished appearance. Start by soaking the seed in oil. There are 3 oils that most sources state are traditional:
Sesame Oil - This is the one I use. It has a scent so subtle that it's virtually nonexistent, making it a great carrier and fixative for other scented oils, is a pretty good natural moisturizer for your own skin, and is pretty affordable.
Mustard Oil - Yeah, this one is listed but is probably a bad idea if you intend to wear your bead(s). First, it has a pretty strong scent. Also, it is a serious skin and mucous membrane irritant. It might not harm the bead - I'm not sure I believe it wouldn't over time - but it will surely cause many people some discomfort over time. Fun fact about Mustard plants: This oil is effective as a pest deterrent for the plant, and also as a way to keep away other plant competitors. The roots exude the plant's oil into the surrounding soil, keeping many other plants from being able to grow in that soil alongside it. Fields that grow mustard either need to remain mustard fields or go fallow for years before most other crops can be planted there. It's sooooo delicious though.
Sandalwood Oil - Wow, expensive. Honestly, I would love to be able to afford to soak each of my beads in pure Sandal, how heavenly the beads must smell after, as the first curing always stays deep in the bead. But the cost of Sandal Oil is , deservedly, prohibitive. Anyway, Sandal is a precious Tree and resource itself, so in my mind it should be used sparingly. Thus the mention of Sesame being a great carrier oil - I mix Sandal into my Sesame Oil. Depending on how much Sandal Oil I have on hand and if I have a project in mind for the beads I'm curing, I will mix the Sandal into the soaking oil as well as the final application, but I use less in the soaking oil when I do this.
Several sources also state that what you use shouldn't really matter as long as it's edible, so you could potentially use Safflower Oil, Olive Oil, Peanut Oil, etc. At least one source I know of sells a Rudraksha cleaning kit that contains Virgin Olive Oil. I would add that it's probably a good idea to use a light, non-greasy oil that is known to be good for your skin - no need for acne breakouts because you used a heavier oil. Grapeseed Oil, Almond Oil and Sesame Oil are all often used in skincare products and are edible, and while people don't actually eat or cook with Jojoba Oil, it's certainly edible and is also the closest oil to our bodies' natural oil, so you could use that too. Walnut and Sunflower Oils could work but tend to go rancid easily outside of refrigeration. Also, don't try any that are solids at room temperature, like Coconut Oil.
This process is easy:
- Pour enough oil into one of your containers to cover the bead completely, (mix in some Sandal or another scent if you like).
- Drop the bead in.
- Leave it until it sinks to the bottom and stays there for several days.
- Take it out, let it drain, let it sit in the sun for about a week. (put it on something you don't mind getting oil on)
- Repeat.
Keep in mind too, you will need to keep topping up the oil in your container. It will diminish by a small amount each time you soak a seed. Pieces of plant fiber will also invariably come out of deep crevices and the center of the bead, littering the bottom of your container over time. When you notice this it's a good time to dump the oil and clean your container - or get a new container. Oil will go off after time, even with fresh oil being added now and then, and if your container is plastic, the oil will eventually start to degrade the plastic and leak through, so keep things hygienic and change out your oil and container occasionally.
I have one last step. I have a small glass bottle of Sesame Oil with a much stronger mix of Sandalwood Oil in it. This bottle is less for curing and more for scent. It's glass because that is not permeable by Oils and keeps them fresher. It's also a colored glass to help block UV light, which will break down oils faster. I use the unbent paperclip once again, dipping it in the bottle to collect a drop at a time, and carefully coat the seed, starting from the inside. 3 drops down the mouth of the bead, and then one drop down into each Mukhi line, and finally a drop at a time to coat each face and fill each whorl before moving on to the next. Then I let it sit again, one last time. You don't need to use Sandalwood Oil for the scent, I use it because it's said to be traditional for the seeds and because it's said to be Sri Shiva's favorite scent and is often offered to him. Also, I like the scent too. But you could really use any scented oil you like or even none at all.
Once you achieve that final varnished look, the bead is ready for whatever you choose to do with it. Personally, I present mine to Sri Shiva Parivar and keep them on my altar until I string them.
Care:
Care is the same for these beads as for any seed or wood product. Cared for correctly, these natural jewels can reportedly last for centuries and are sometimes passed along as family heirlooms. Care is also pretty much the same as the initial cleaning, or at least it utilizes the same tool set.
Start by washing your bead(s) is lukewarm or cold water. Use a very gentle detergent/soap if you wish, and scrub gently with the same type of brush. Once done, lay the bead(s) or mala out in the sun to dry for a day or three. If needed, you can then use the fine needle to clean out any debris that might have been missed by the brush - though I find that with regular care I rarely need to. I think the last time I needed it was after going to the beach. When the beads are dry, oil them again - using scented oil if you prefer to.
Try not to clean too often, the process is a stress to the natural material of the seeds after all, but if you do feel they need it then it may be best to follow your feeling. I find that once a month or so is perfectly fine for my beads when they're being worn or used in Japa, however I clean the ones not regularly handled less often, particularly if they're kept in a box or container for safety.
The steps of both exposing the seeds and caring for them sometimes feel like a small puja, offering Snaanam Paadyam and Arghyam, Aachamaneeyam, Neivedyam, Ghandam, and Dhyanam.
~Aum Namah Shivaya!
I want to deeply thank you for writing this. Just Friday, I purchased my first fruits! (along with fruits to grow some BP leaves for temple)
ReplyDeleteThank you NayaSurya, I am very glad to have been able to sit and finish this post. I'm so happy to hear you've gotten some! I didn't mention in this post, but don't go through a curing process or let the beads get too hot if you wish to crack any and try and sprout them. I've been doing some research on how to best start seedlings, and I'll do a post on that soon too. I hope to start my own seeds next weekend. =D I'll eventually write some posts on stringing and wire work too I think.
DeleteSo did you get some Bel fruit too then? I've gotten some and have also considered cracking the fruit to try and plant the seeds. I would need to keep them dwarfed as potted trees though, there is no way they would live outdoors in my climate. They are some HARD fruits too, LOL, harder than cracking coconuts. Please let me know your experience with the Bel fruits, if you're able. <3
I have some goodly news! Firstly, because you were instrumental in helping me get started I have something I can suggest two things to you. Buy a Spin Brush! LOL Yes, medium bristles, arm&hammer spinbrush. It was soft enough to not damage the seeds, but really powered away a lot of the debris! Second thing, we used Moroccan oil from Organix and it worked goodly too! It sure smells awesome!
ReplyDeleteBael fruits, boy they are the most awesome thing I have ever seen on the inside! They have a honey colored sap inside...sticky SO SO STICKY! But, oh the fragrance is magnificent! It is about like a walnut to crack, but once started, it becomes structurally fragile, and the rest will fall away easily. I place the fruit onto a semi wet wash cloth to stabilize it then used a knife to score the outside. Sawing at it until I heard the magic crack! I did this many times, always seems to work. The inside looks like a small tangerine, something about it also reminds me of the inside of a pumpkin. The odor is so pleasant...smells of pine...and cucumbers...and cut grass. It's just such a lovely smell. Once I got an entire half side cracked out, I used my finger to scoop the entire lil tangeriney like thing out. Then I removed each section. The sections are smaller than a tangerine and less fragile. The inner center core is stiffer, like the fibrous part of a pumpkin stem. Each section has this incredible sticky, honey colored sap inside. It is SO thick and it almost beads up on its own it's so thick it is almost a solid. The seeds are inside those lil sections covered in the honey sap! So a sticky process...but! It is easily washed off with soap and warm water. I washed the seeds and dried them off...planted half...and now have clean dry ones to plant a second phase. I gave some out for our Ugadi celebrations recently...and the look of *JOY* on folks faces from being gifted one of these...was wonderfully special. Thank you for making that possible. <3
Oh woe, that's fantastic! =D I'm so glad you've been able to do this. Thank you for sharing with me. Please keep me updated! Do you think they might be able to grow outdoors in your climate? Oh, I hope so!
DeleteYou inspired me to get one of the Bel fruits I had gotten for Maha Shivaratri. It was a bit dried inside, but I see what you mean about the scent! So citrus and pepper and pine all at once! It was the smallest of the 3 fruits, I don't know if the seeds were mature or not... Since you sowed yours, I thought I'd try a damp cloth germination without drying. We can compare notes! =D I'll open another soon and try another method too! So exciting, I love spring planting! =D
Oh yeah, I forgot. Moroccan Argan Oil? Brilliant! What a great idea! I've never hear of spin brushes, I'll get a look, thanks so much fort the ideas! I will update the post with credit to you, if that's okay?
DeleteI hope you do your own posts about these adventures! =)
hi this post was like ,my prayers answered after last 2 years,i was searching where can i buy fruits,as i wanted to do this myself,one reason it gives me more happiness rather than just buying finished product,hence if you can send me a link or address from where did you ordered these dried fruits that will be joyous for me.thanks
ReplyDeleteHi! Very sorry for the delay in my response, I've been swamped lately.
DeleteI'm so glad this has been of help. I want to write more but just haven't found the time recently. I'll get to it eventually though.
I buy the dried fruits and most of my puja supplies from Rudraksha Ratna. Just Google the name, the website will come up.
During festival seasons they sometimes hide the leaves and flowers section, which is where you will find the dried Rudraksha fruits. It would be a subsection under Puja Supplies called leaves fruits and flowers.
If you find the section is hidden, contact them via email or chat and they will work with you to buy the needed items anyway. Their customer service is great.
They come in packages of I think 10 or 12 and they have a new bag of 50 too.
Best of luck! Please stay in touch and let me know your experience and what you do with them. ^_^
Hi! Very sorry for the delay in my response, I've been swamped lately.
DeleteI'm so glad this has been of help. I want to write more but just haven't found the time recently. I'll get to it eventually though.
I buy the dried fruits and most of my puja supplies from Rudraksha Ratna. Just Google the name, the website will come up.
During festival seasons they sometimes hide the leaves and flowers section, which is where you will find the dried Rudraksha fruits. It would be a subsection under Puja Supplies called leaves fruits and flowers.
If you find the section is hidden, contact them via email or chat and they will work with you to buy the needed items anyway. Their customer service is great.
They come in packages of I think 10 or 12 and they have a new bag of 50 too.
Best of luck! Please stay in touch and let me know your experience and what you do with them. ^_^
hi this post was like ,my prayers answered after last 2 years,i was searching where can i buy fruits,as i wanted to do this myself,one reason it gives me more happiness rather than just buying finished product,hence if you can send me a link or address from where did you ordered these dried fruits that will be joyous for me.thanks
ReplyDelete